
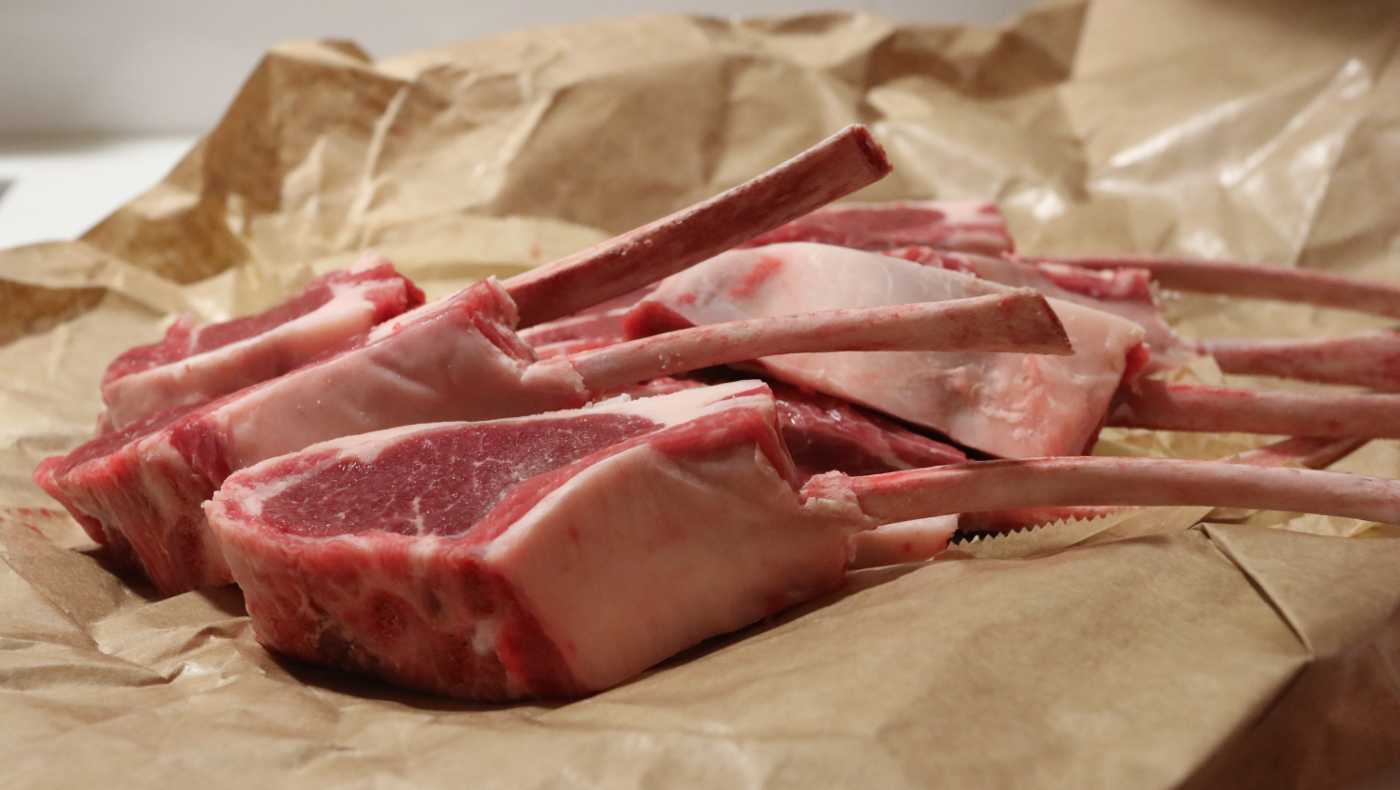
Racks of lamb are generally sold as a full rack with 8 ribs. The rack can be cooked whole, or cut into individual pieces prior to cooking. Either way works just as well; the “right” way is largely a matter of preference, and some for some preparations (like oven roasting) it makes more sense to cook the rack whole.
While grilling, I have a slight preference for cutting the rack into individual pieces before cooking and marinating. If you buy the lamb from a butcher or a meat counter, most places will piece it out for you. This increases the surface area of the meat exposed to the marinade, and allows for a slightly faster sear on the grill. I recommend trying it both ways and experimenting to see what you prefer. The obvious upside of the experimentation approach is that you eat more rack of lamb, and everybody wins because these things are tasty.
In this recipe, I’m including a good general purpose marinade. While the marinade I describe here is pretty easy to prepare, it can be even simpler. A quick rub of kosher salt, pepper, and olive oil — applied anywhere from 5 to 60 minutes before cooking — is a great preparation for lamb.
Marination times also vary. I generally recommend an hour minimum for meat. For this recipe, I made the marinade the night before, and let the lamb marinate overnight.
The time required to prepare the marinade is between 5-15 minutes. The lamb can be marinated for between 1 to 24 hours. Cook time is approximately 5-6 minutes. So, for preparing this meal for lunch, you’ll be in great shape if you prep the marinade the night before, marinate the lamb overnight or starting at breakfast, and then prepping the grill about 20 minutes before you want to eat. While the grill is coming up to temperature, you can fix up a green salad with sliced avocado and and a rice wine vinaigrette.
Ingredients
- 1 rack of lamb (8-9 pieces), cut into individual pieces
Marinade
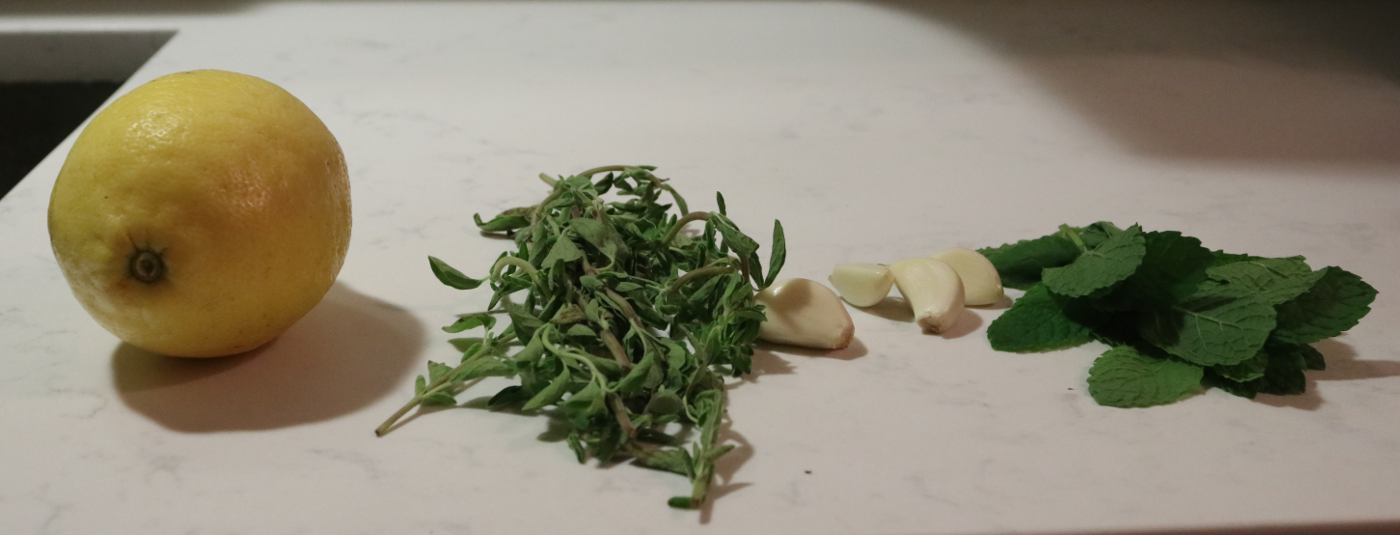
- Lemon
- Fresh mint – if you like mint, use more. If you have flawed flavor preferences and don’t like mint, use less or (gasp) leave it out entirely
- Fresh oregano – as with mint, balance the amount of oregano against your personal preference.
- 4-6 cloves garlic
- Olive oil – approx 2-3 tablespoons
- Sea salt – 1-2 tablespoons
- Freshly ground pepper – add pepper to taste, maybe 1 teaspoon. More won’t hurt things.
Other additions or substitutions to the marinade can include chopped fresh rosemary or dried cumin.
Preparation
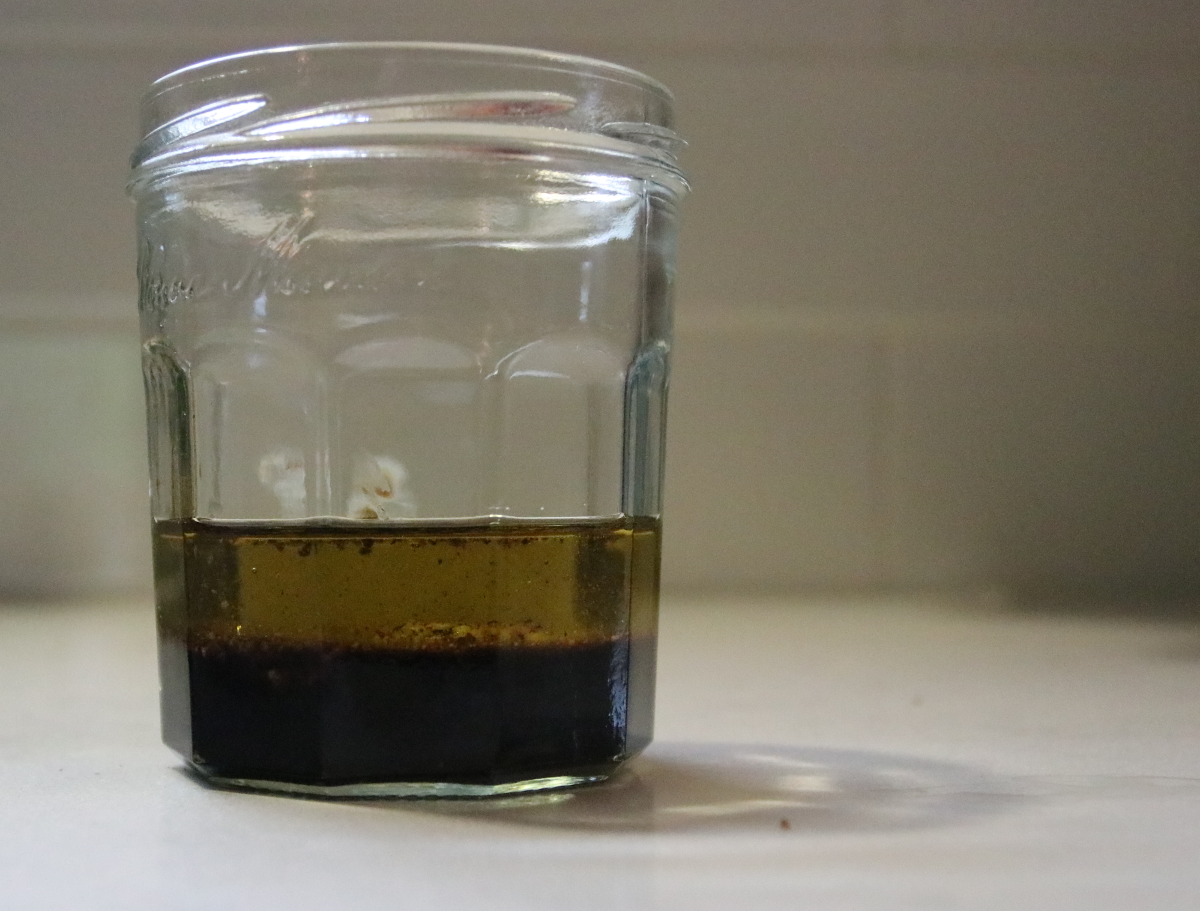
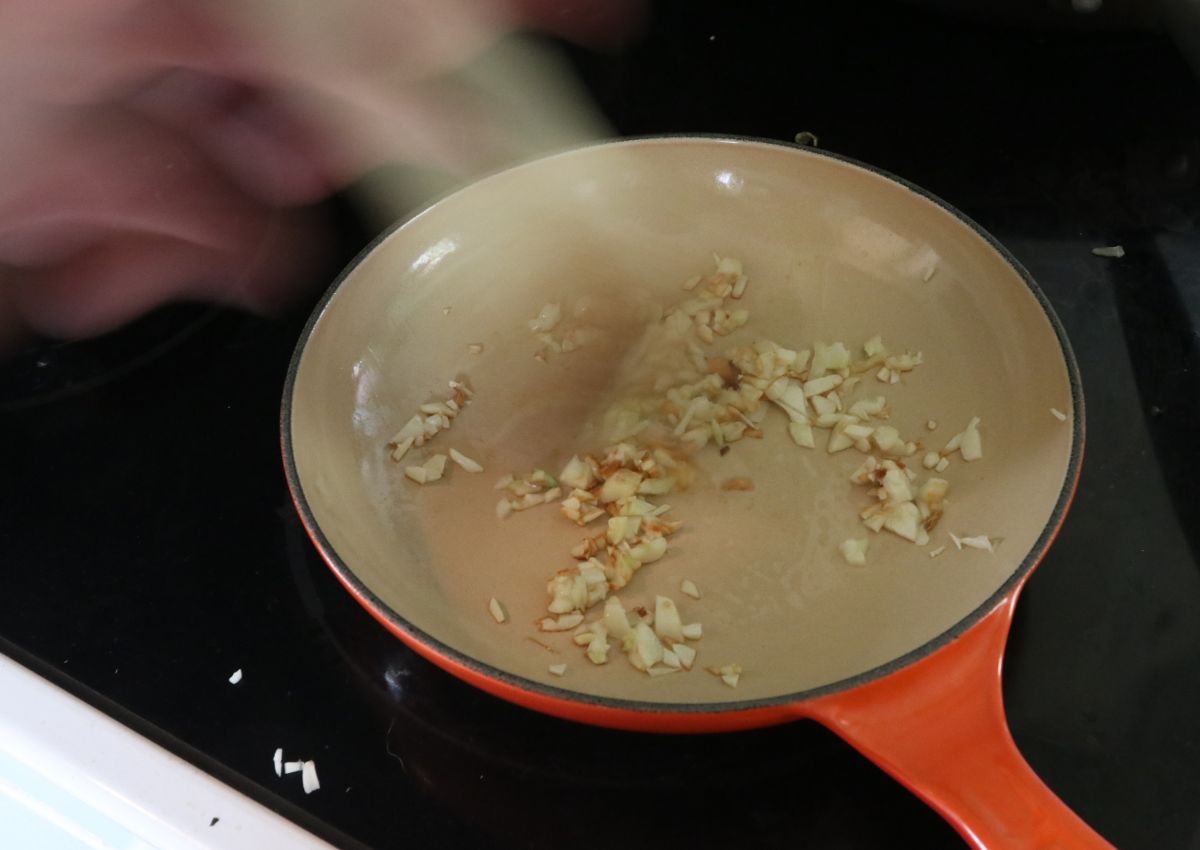
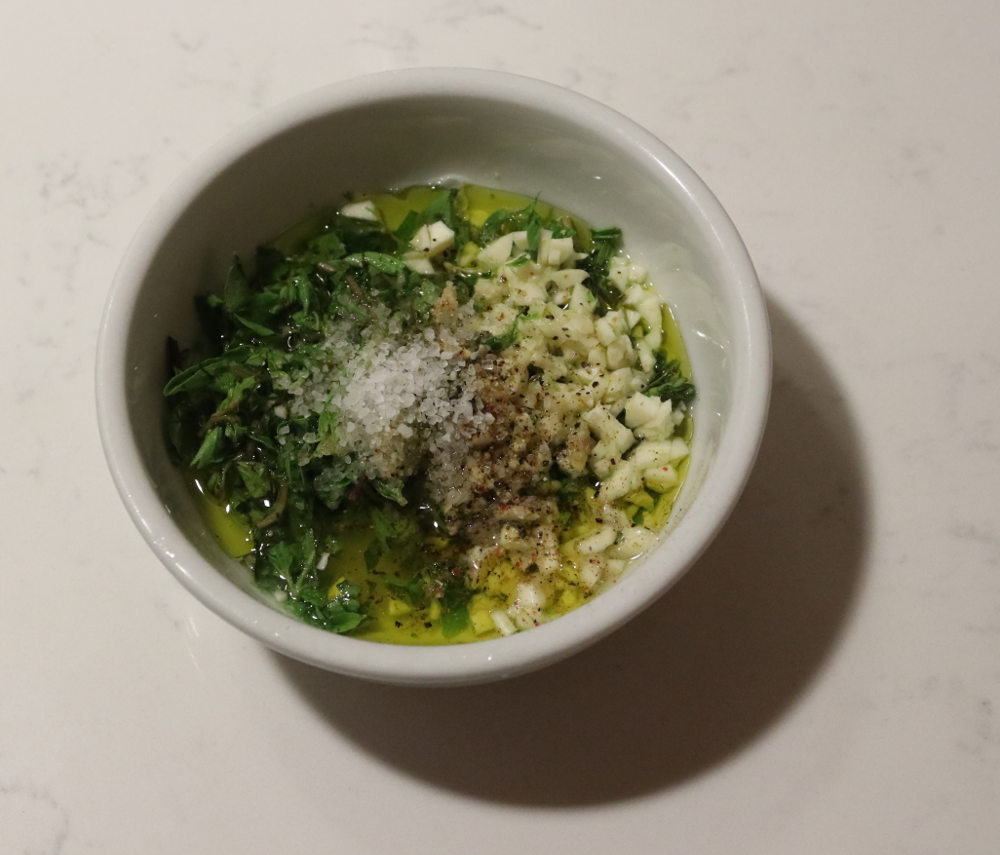
Step 1: Juice the lemon, and chop the mint, oregano, and garlic. Add them all to a bowl.
Step 2: Add the olive oil, sea salt, and freshly ground pepper. Stir all ingredients together with a spoon.
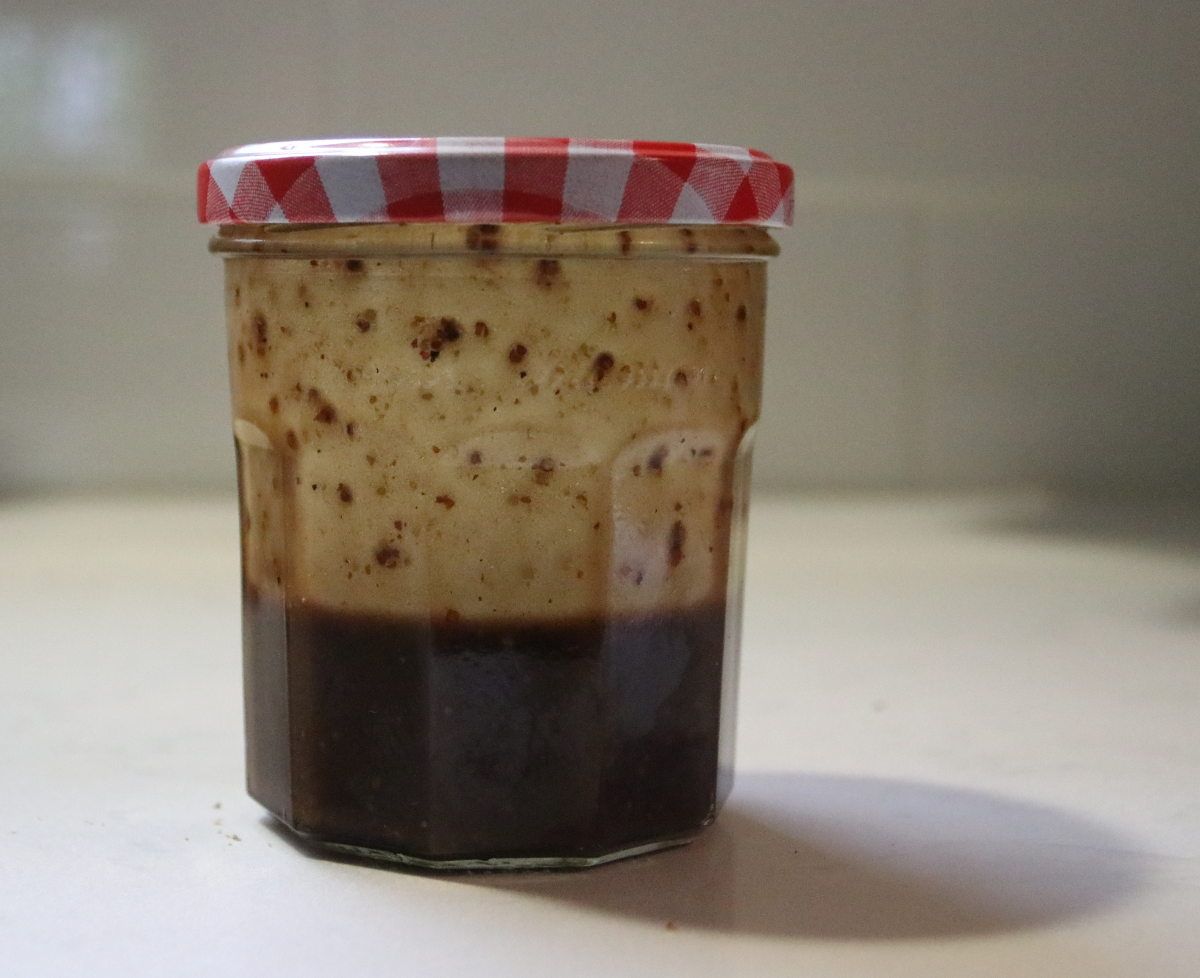
The marinade can be made multiple days in advance. It can be stored in the refrigerator for up to a week. If you choose to refrigerate the marinade, make sure to bring it to room temperature before using it. The olive oil will solidify in the refrigerator; bringing the marinade back to room temperature allows the olive oil to liquefy.
Step 3. Put the lamb in a ziploc freezer bag, and pour in the marinade. Shake the bag gently to cover all the lamb with the marinade. Remove as much excess air as possible from the bag, and seal it.
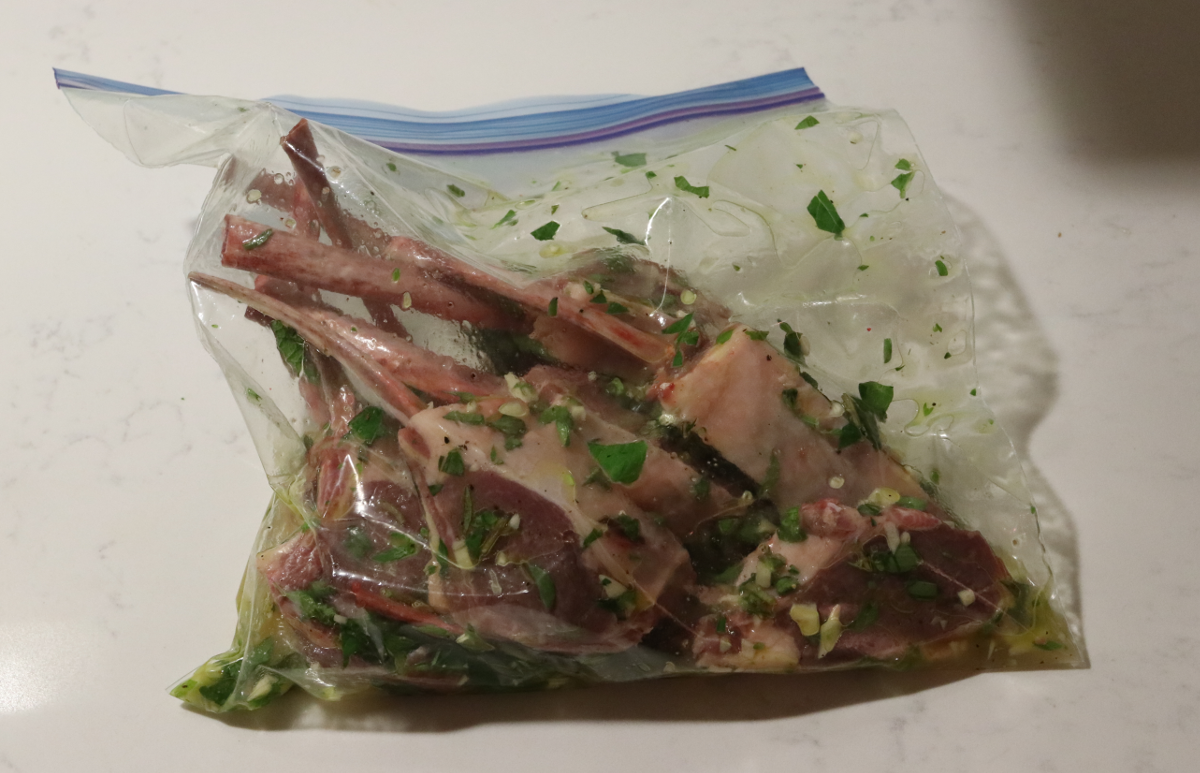
Step 4. Put the lamb in the refrigerator until you are ready to eat!
Protip: It takes just as much time to prepare marinade for 4 pieces as it does 8 or 12. If you make more in your initial batch, you can have some for leftovers later in the week. Grilled lamb is delicious cold.
I generally eat around 4 pieces as a single serving, so eight pieces covers two meals.
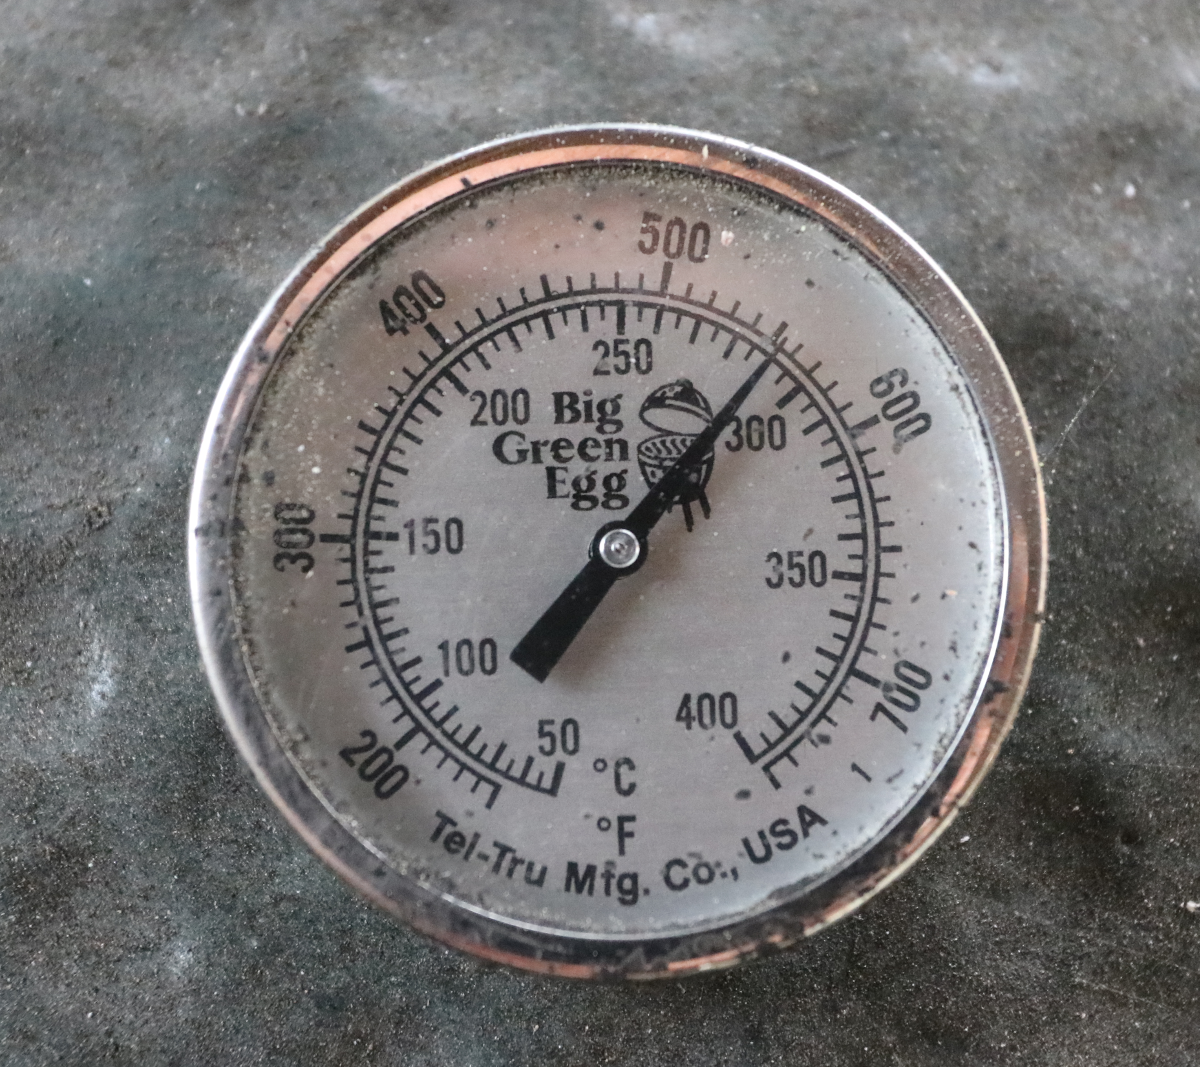
Step 5. About 30 to 60 minutes before you want to eat, remove the lamb from the refrigerator. 20 minutes before you want to eat, spark the grill. We want the grill right around 500.
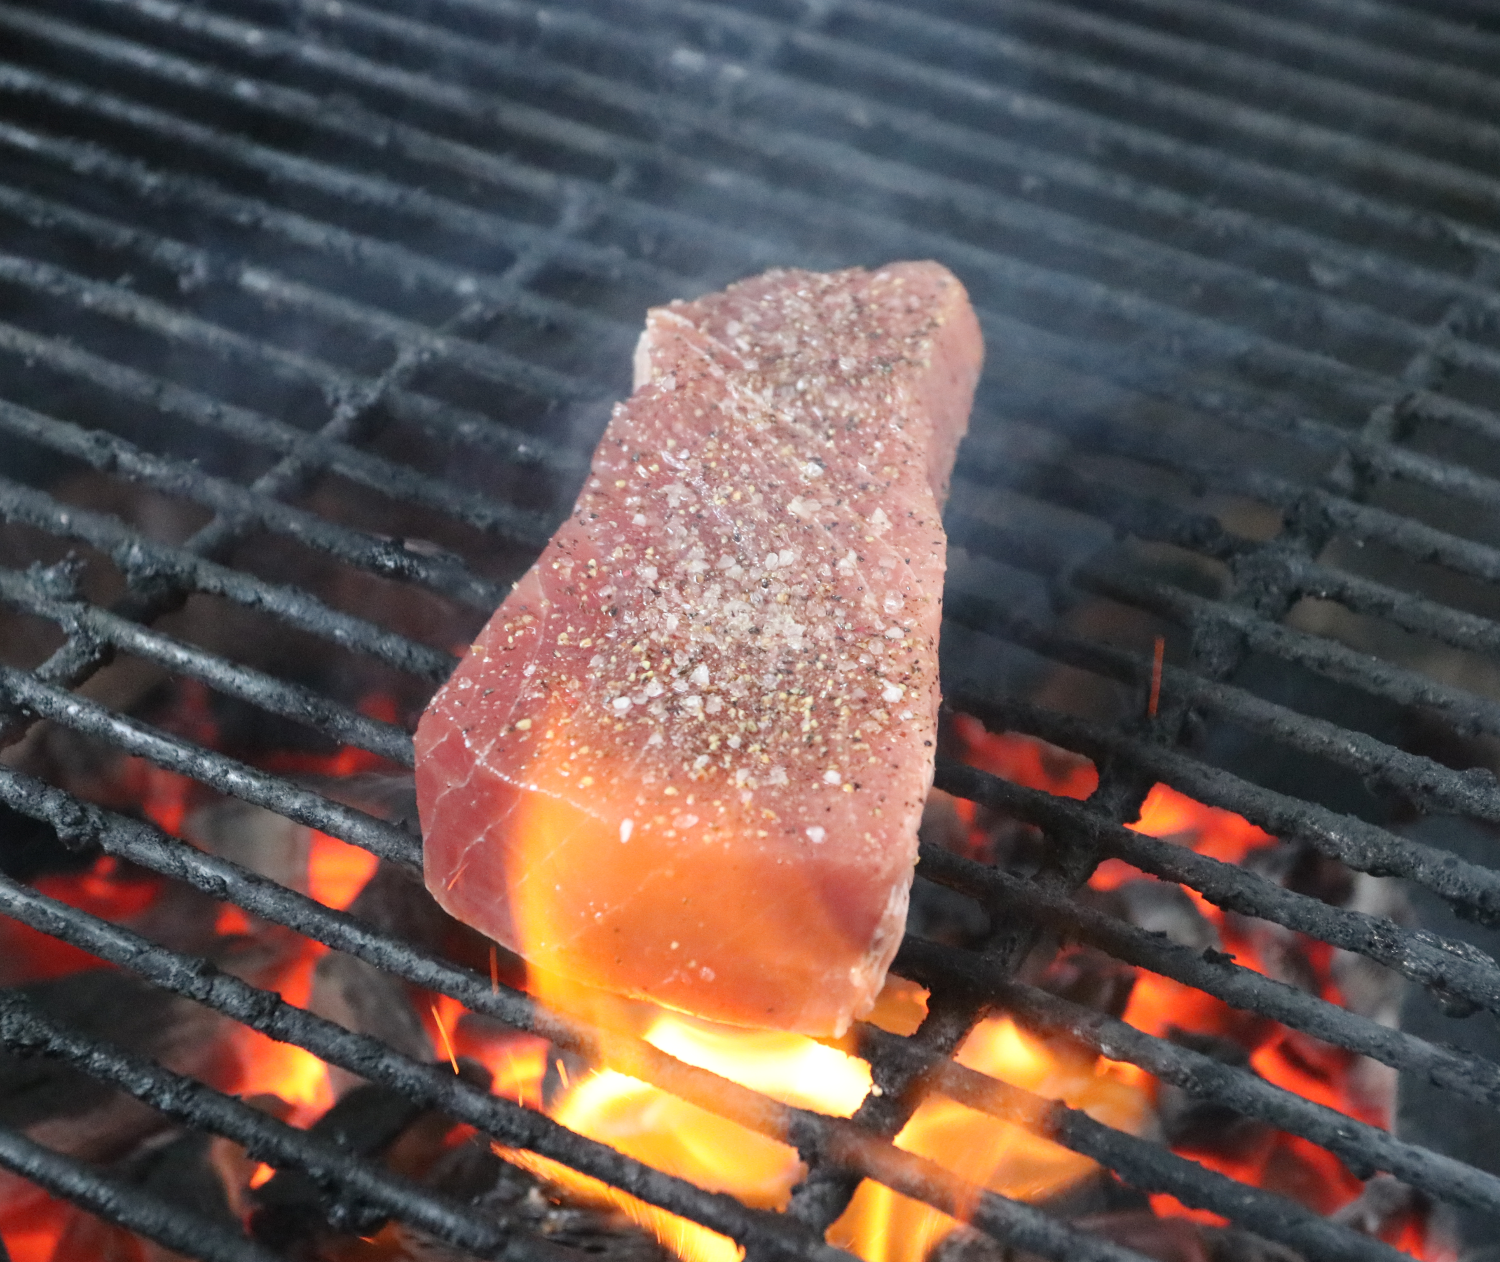
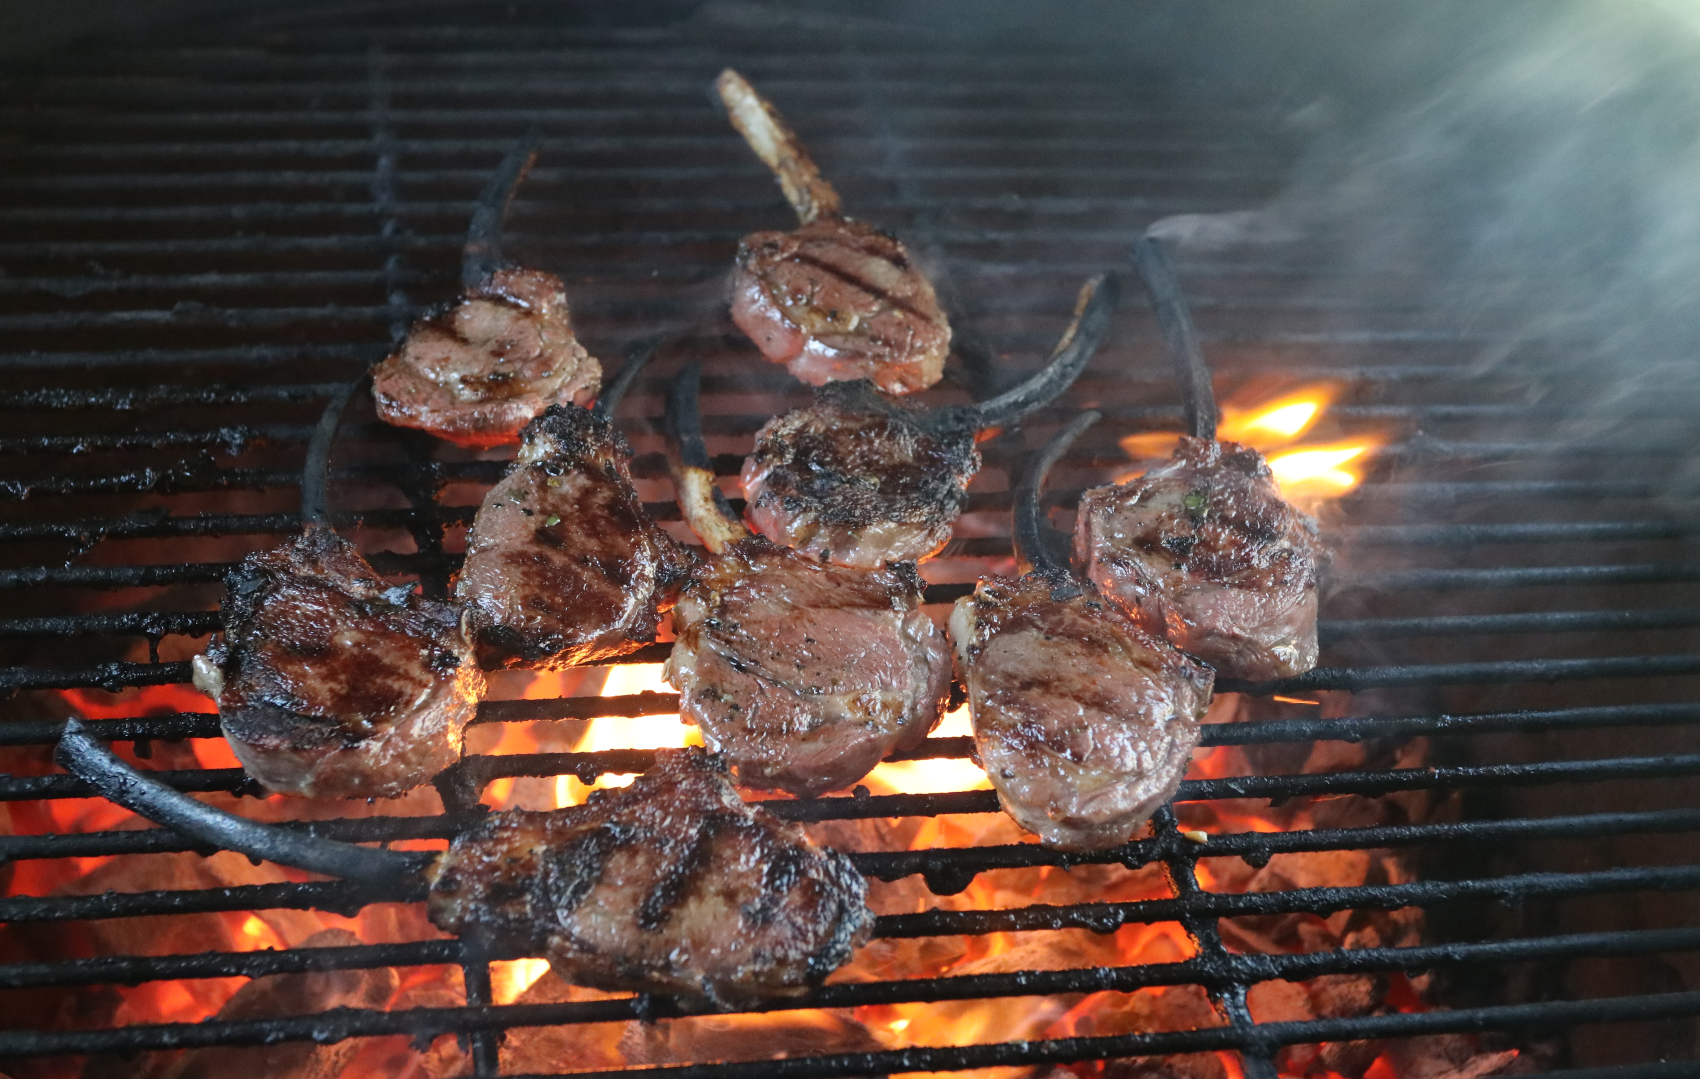
Step 6. Cook the lamb on the grill, approximately 2-3 minutes each side.
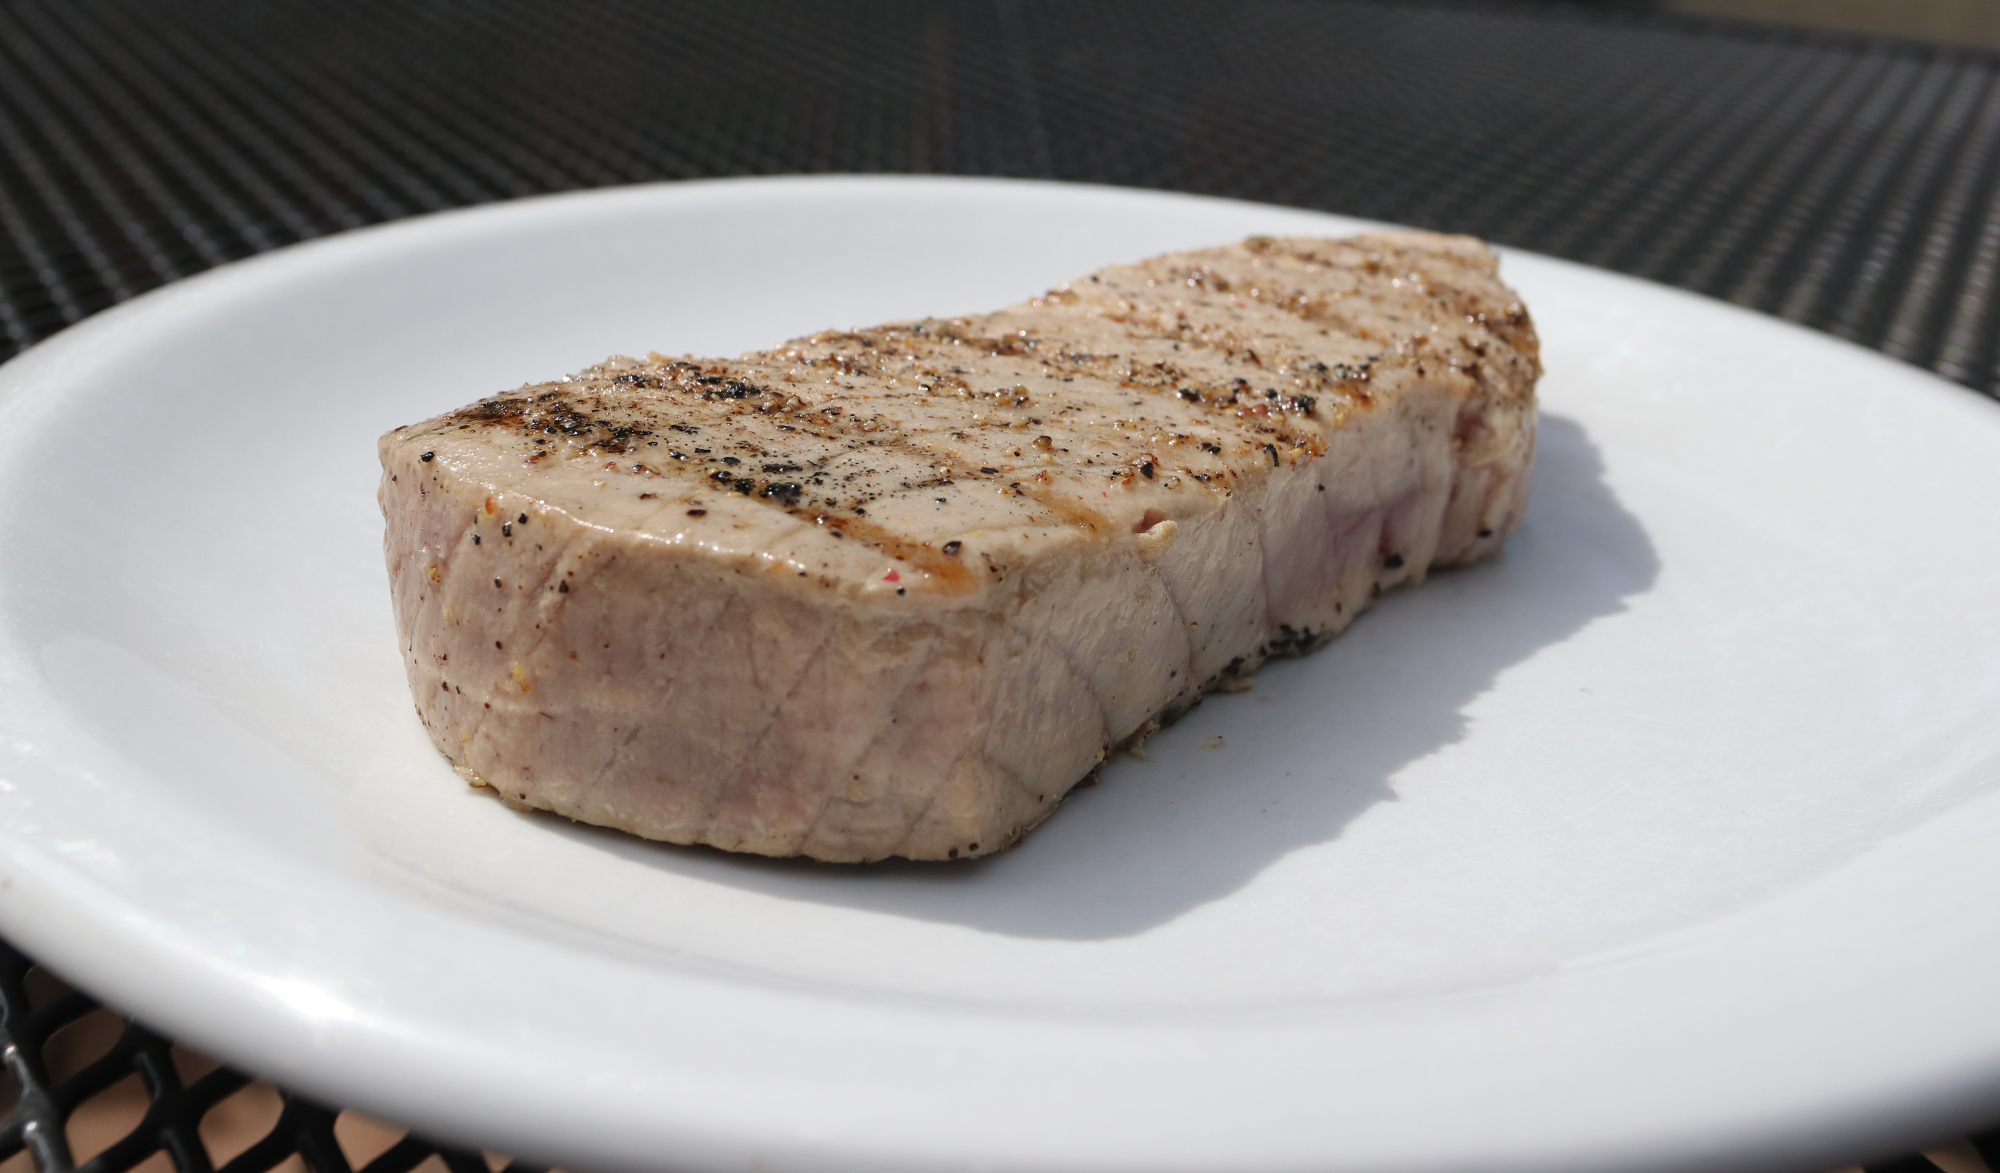
Step 7. Plate, eat, enjoy. Save your leftovers for lunch later in the week!