Peach Jam

Multiple jars of peach jam.

I had a hard time getting my jam making process dialed in. For me, jam recipes can be confusing, primarily because:

  1. the different types of pectin available in many stores don’t correspond with how the recipes are written; and
  2. when we say that a recipe needs 4 cups of fruit, how exactly are we measuring 4 cups? Is the fruit mashed? Chunked? Pureed?

In this recipe, the fruit is blended to a rough liquid, and that’s what we use to measure volume. I use an immersion blender to process the fruit, but any blender will do. The ingredients in this recipe are keyed to the amount of fruit, primarily because that’s the hardest thing to know ahead of time.

I also use weights in this recipe because that’s an easier way for me to get the exact measurements I need. Obviously, to use weights, you need a kitchen scale. I use the OXO Good Grips scale, but this review of scales gives you a few different options.

If you don’t have a scale, the weights can be converted to volume.

  • 1 tablespoon pectin = 11 grams
  • 1 cup sugar = 200 grams

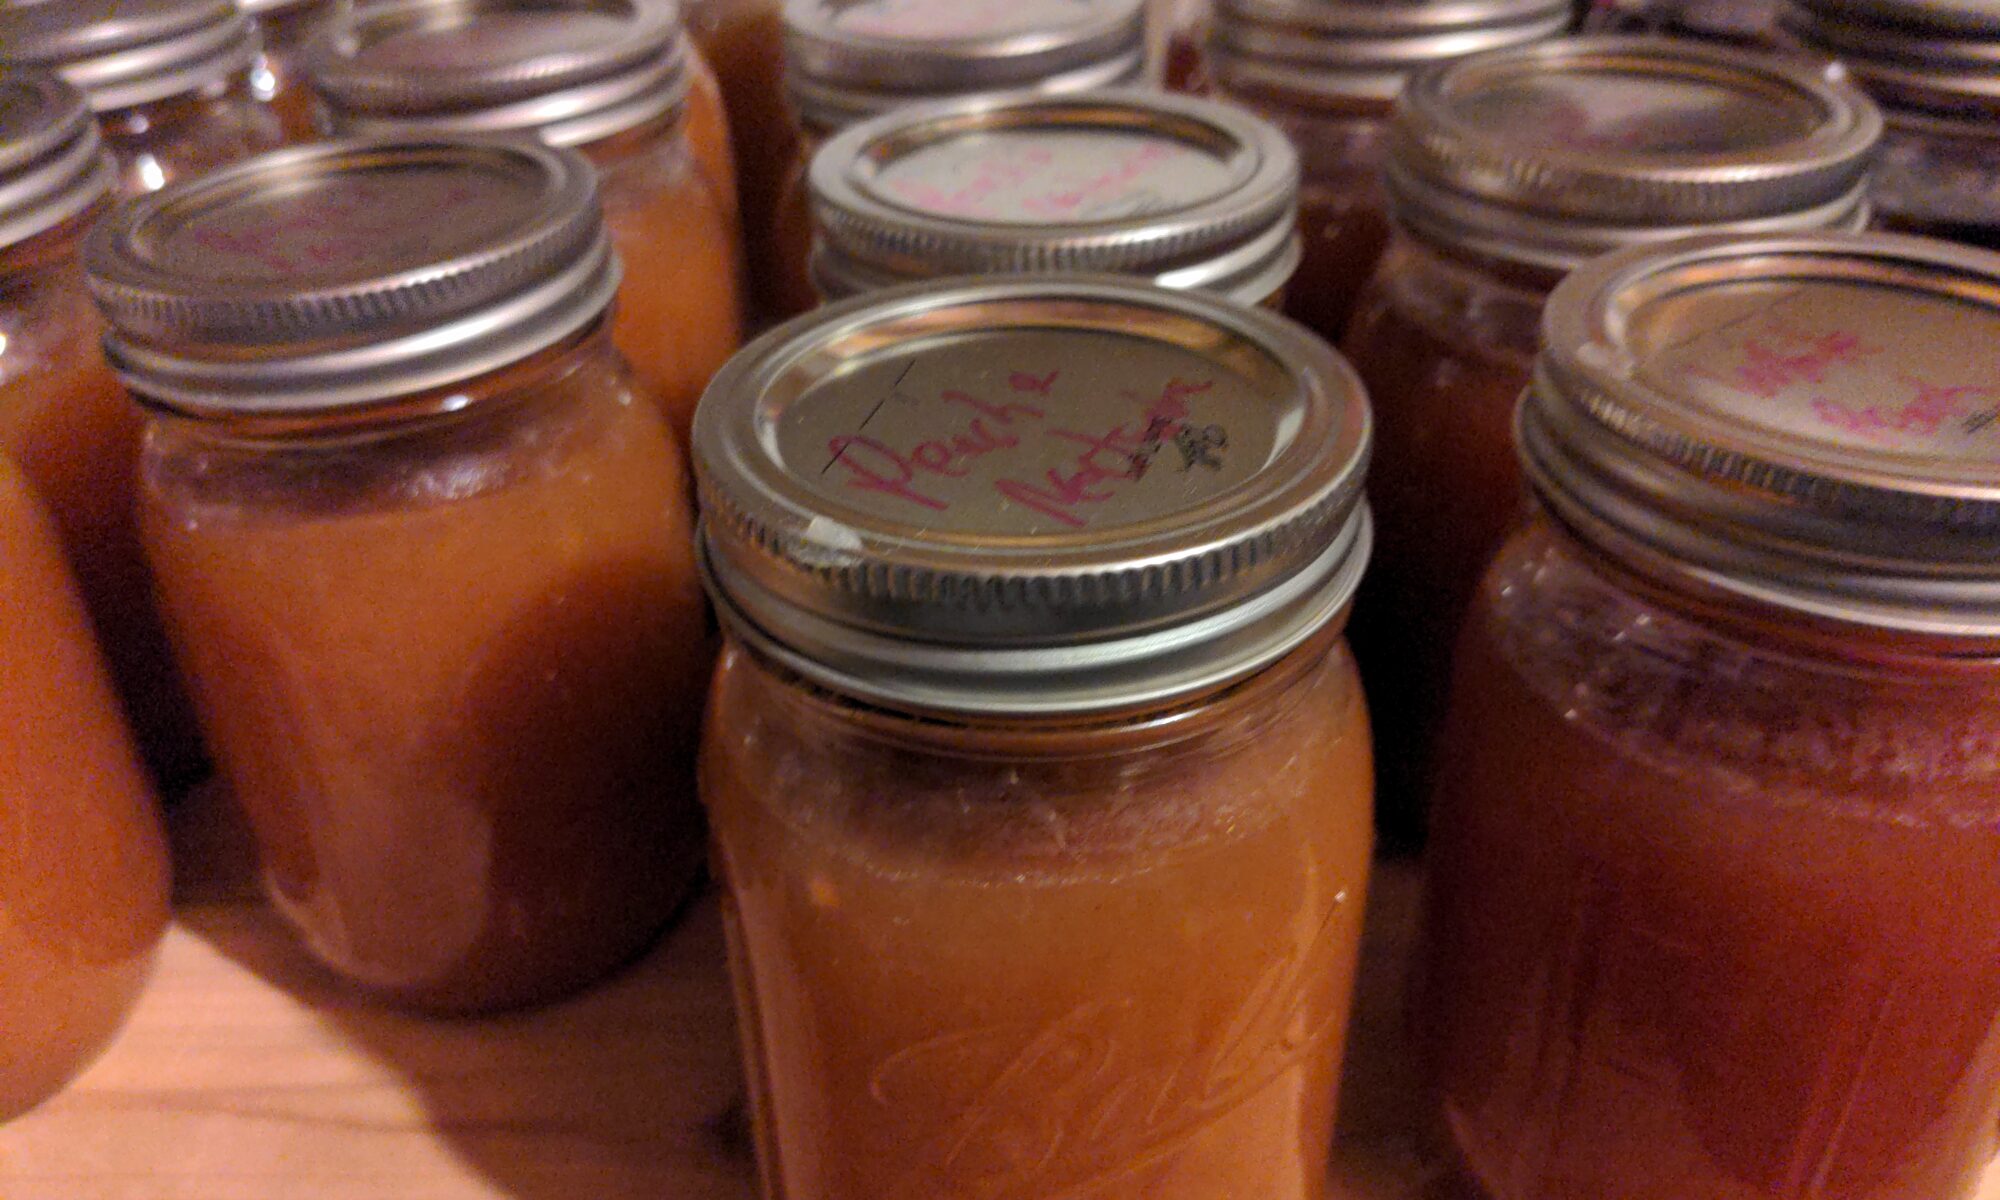
This recipe is great for peaches and nectarines, separately or in combination. If you want the jam to have some extra kick, add approximately 1/8 to 1/4 teaspoon of chipotle pepper per 1 cup of peaches, so 8 cups of peaches would have 1-2 teaspoons chipotle.

One other detail: a lot of peach jam recipes apparently have very strong feelings about peeling peaches. I’m very happy for them, and if you want to waste your time peeling peaches knock yourself out. This recipe does not call for peeling peaches. Personally, when making jam from white peaches, the skin gives the jam a deep rich reddish tint that is hard to achieve otherwise.

But hey – if you really want to peel your peaches, have at it.

Ingredients

  • 1 cup peaches
  • 11 grams powdered pectin (I use the Ball RealFruit Classic Pectin)
  • 167 grams sugar
  • 1/2 tablespoon lemon juice
  • Bourbon (water can also work) – see instructions below

Instructions

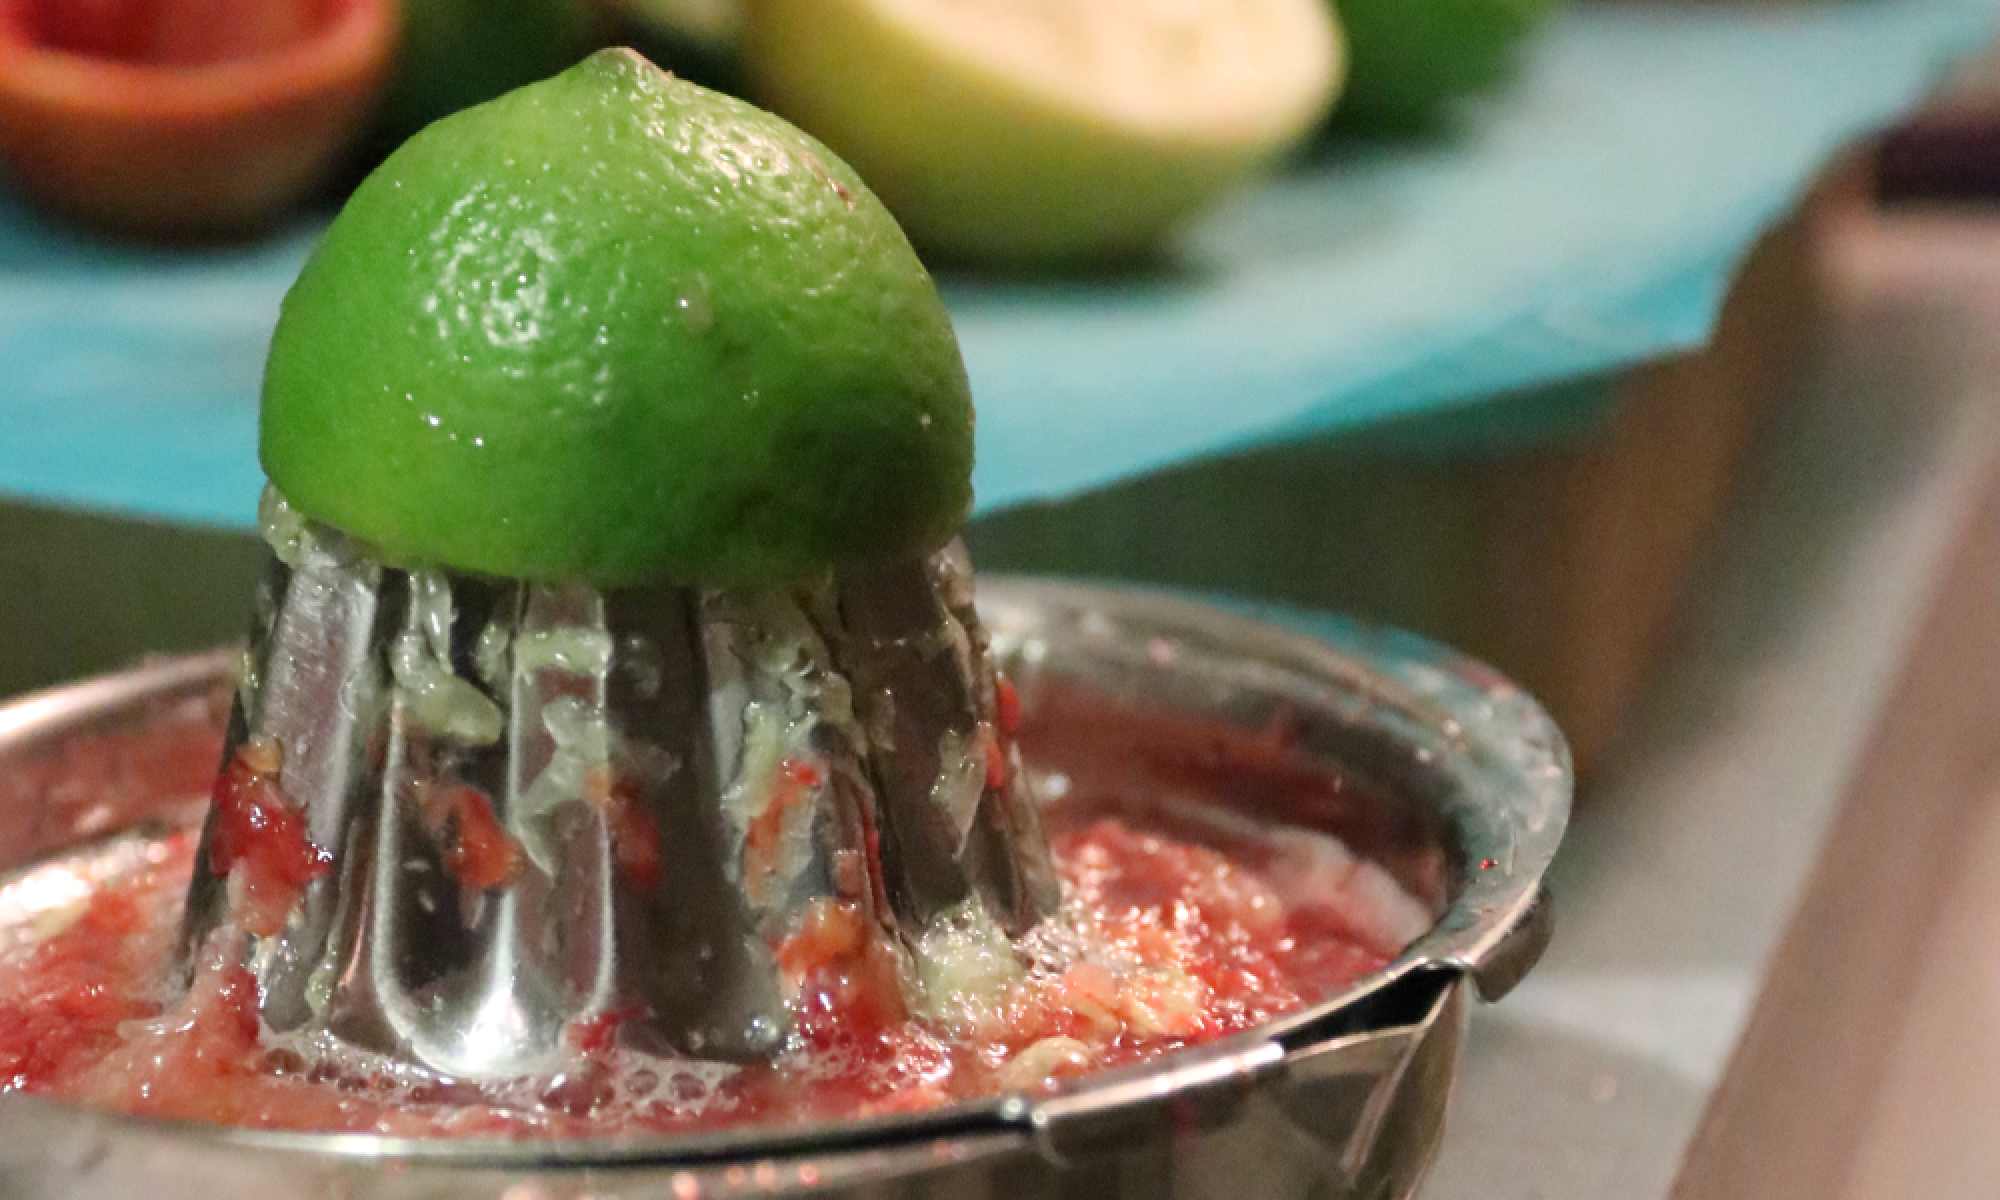
1. Juice 1-2 lemons. Set the lemon juice aside

2. Take the pits out of the peaches and cut them into rough quarters. Don’t worry about being precise, as all the peaches will be blended.

3. Measure out approximately half the lemon juice you think you will need, and pour that over the peaches. Break up the large chunks with a stick blender, potato masher, or regular blender. Measure the volume of peaches, as this is what you will use to determine the amount or the other ingredients.

4. Now that you have a clear sense of the volume of your peaches, add the remaining lemon juice to the peaches. (ie, if you have 6 cups peaches, and you added 1 tablespoon lemon juice prior to blending, add an additional 2 tablespoons lemon juice to keep the ratio of lemon juice to peaches accurate).

5. In a separate bowl, measure out the sugar. Set this bowl aside.

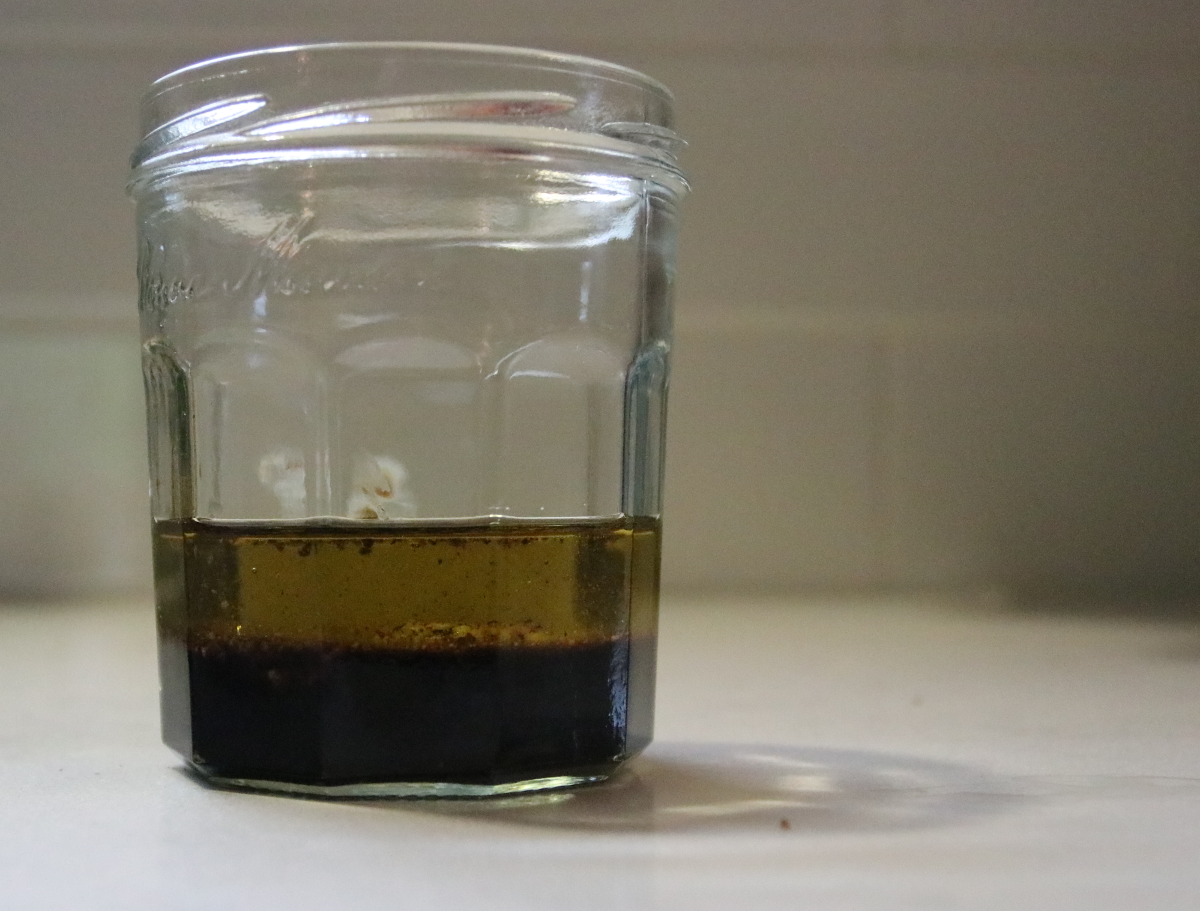
6. In a separate bowl, measure out the correct amount of pectin. Spoon a small amount of the peach/lemon mix over the pectin. Add some bourbon or whiskey to the mix. Stir the ingredients together until the pectin is fully dissolved. If you are adding chipotle or any other spice, add it in with the pectin to ensure it dissolves fully.

7. Add the pectin/peach/bourbon blend back to the rest of the peaches. Heat on medium heat, then increase to medium-high to high heat, stirring constantly, to bring to a rolling boil.

8. Decrease the heat to add the sugar. Stir until the sugar dissolves, then return to medium-high to high heat to bring back to a rolling boil. Stir the mix regularly to constantly.

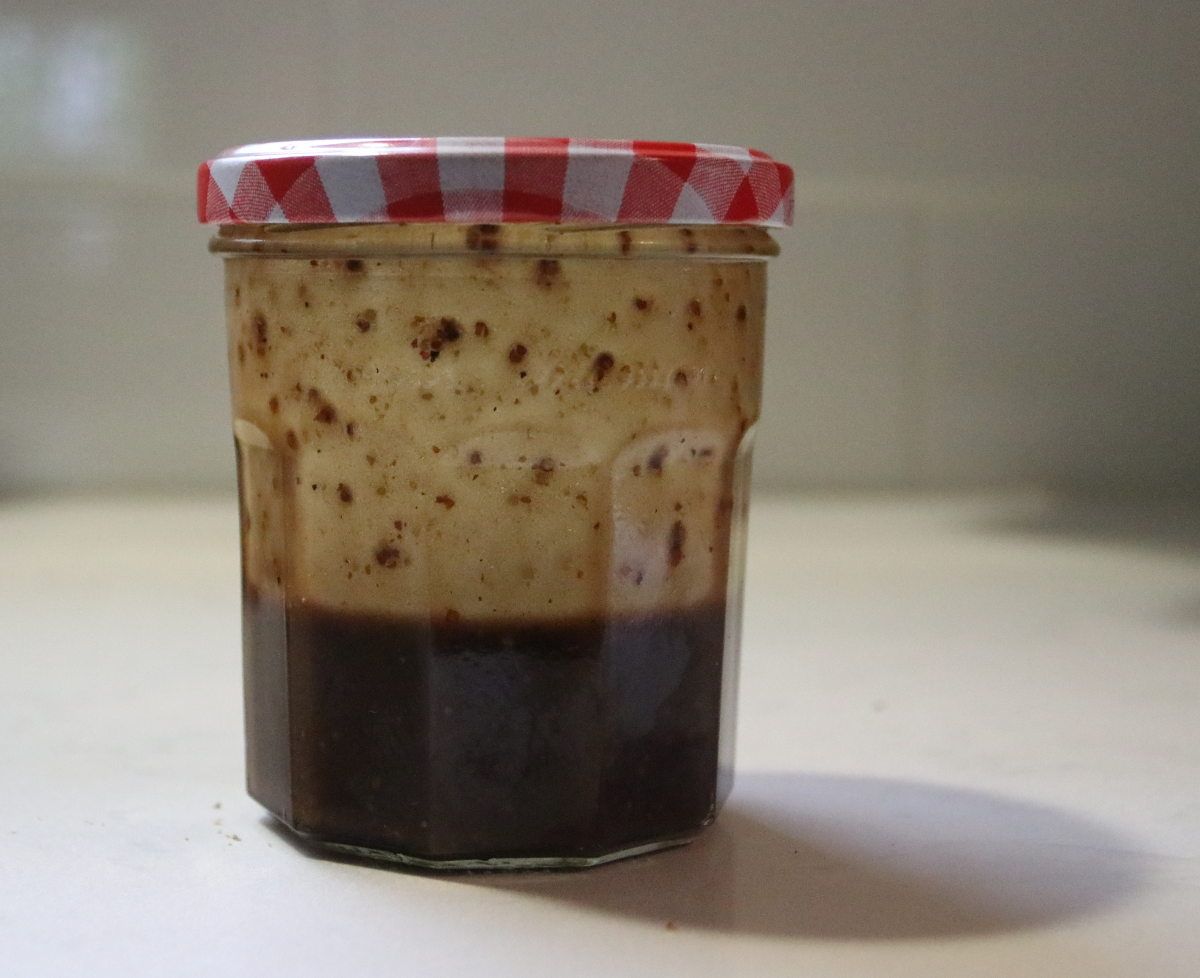
9. Once the mixture is at a rolling boil, keep it there for one minute, stirring constantly. After a minute, turn off the heat, and put the jam in jars.

10. If you are preserving the jam, proceed on with your preferred method of canning. Otherwise, cover the jam, put it in the fridge, and enjoy over the next few weeks!

Grilled Rack of Lamb

Rack of Lamb

Racks of lamb are generally sold as a full rack with 8 ribs. The rack can be cooked whole, or cut into individual pieces prior to cooking. Either way works just as well; the “right” way is largely a matter of preference, and some for some preparations (like oven roasting) it makes more sense to cook the rack whole.

While grilling, I have a slight preference for cutting the rack into individual pieces before cooking and marinating. If you buy the lamb from a butcher or a meat counter, most places will piece it out for you. This increases the surface area of the meat exposed to the marinade, and allows for a slightly faster sear on the grill. I recommend trying it both ways and experimenting to see what you prefer. The obvious upside of the experimentation approach is that you eat more rack of lamb, and everybody wins because these things are tasty.

In this recipe, I’m including a good general purpose marinade. While the marinade I describe here is pretty easy to prepare, it can be even simpler. A quick rub of kosher salt, pepper, and olive oil — applied anywhere from 5 to 60 minutes before cooking — is a great preparation for lamb.

Marination times also vary. I generally recommend an hour minimum for meat. For this recipe, I made the marinade the night before, and let the lamb marinate overnight.

The time required to prepare the marinade is between 5-15 minutes. The lamb can be marinated for between 1 to 24 hours. Cook time is approximately 5-6 minutes. So, for preparing this meal for lunch, you’ll be in great shape if you prep the marinade the night before, marinate the lamb overnight or starting at breakfast, and then prepping the grill about 20 minutes before you want to eat. While the grill is coming up to temperature, you can fix up a green salad with sliced avocado and and a rice wine vinaigrette.

Ingredients

  • 1 rack of lamb (8-9 pieces), cut into individual pieces
Individual pieces of lamb

Marinade

  • Lemon
  • Fresh mint – if you like mint, use more. If you have flawed flavor preferences and don’t like mint, use less or (gasp) leave it out entirely
  • Fresh oregano – as with mint, balance the amount of oregano against your personal preference.
  • 4-6 cloves garlic
  • Olive oil – approx 2-3 tablespoons
  • Sea salt – 1-2 tablespoons
  • Freshly ground pepper – add pepper to taste, maybe 1 teaspoon. More won’t hurt things.
Marinade ingredients

Other additions or substitutions to the marinade can include chopped fresh rosemary or dried cumin.

Preparation

Step 1: Juice the lemon, and chop the mint, oregano, and garlic. Add them all to a bowl.

Step 2: Add the olive oil, sea salt, and freshly ground pepper. Stir all ingredients together with a spoon.

Marinade ingredients, ready to go
Chopped and ready to mix

The marinade can be made multiple days in advance. It can be stored in the refrigerator for up to a week. If you choose to refrigerate the marinade, make sure to bring it to room temperature before using it. The olive oil will solidify in the refrigerator; bringing the marinade back to room temperature allows the olive oil to liquefy.

Step 3. Put the lamb in a ziploc freezer bag, and pour in the marinade. Shake the bag gently to cover all the lamb with the marinade. Remove as much excess air as possible from the bag, and seal it.

Step 4. Put the lamb in the refrigerator until you are ready to eat!

Protip: It takes just as much time to prepare marinade for 4 pieces as it does 8 or 12. If you make more in your initial batch, you can have some for leftovers later in the week. Grilled lamb is delicious cold.

I generally eat around 4 pieces as a single serving, so eight pieces covers two meals.

Step 5. About 30 to 60 minutes before you want to eat, remove the lamb from the refrigerator. 20 minutes before you want to eat, spark the grill. We want the grill right around 500.

Step 6. Cook the lamb on the grill, approximately 2-3 minutes each side.

Grilled lamb, after the flip

Step 7. Plate, eat, enjoy. Save your leftovers for lunch later in the week!

Rack of Lamb

Simple Green Salad with Dressing

Salads are easy to throw together, and they don’t need to be complicated.

If you’re working at home, you need your greens.

Eat your greens!
Image source: https://giphy.com/gifs/food-angry-gifamerica-k2hh0zJzIBvY4

For a basic salad, get some mixed greens at the store. If you’re feeling ambitious, buy a head of lettuce and rip the leaves off and wash them. But, with either route, the process of making a salad is literally washing the greens, and then dumping them onto a plate. If you’re feeling really ambitious, get an avocado and slice it up*. Cherry tomatoes, mushrooms, broccoli, snow peas, carrots, or celery all add some variety, flavor, or texture.

Homemade dressing can also be pretty simple. A great basic dressing is a mix of equal parts extra virgin olive oil and seasoned (or sweetened) rice wine vinegar.

Another straightforward homemade dressing is equal parts extra virgin olive oil and balsamic vinegar, with a spoonful of stoneground mustard and some cracked pepper. This dressing goes especially well with sliced apple and/or dried cranberries.

For salad dressing containers, I use old jam jars. They’re a great size, and you can seal them up and mix your dressing inside them.

With the steps laid out here, you can prepare a basic salad in around 5-10 minutes.

* If you only use some of your avocado, squeeze lemon juice on the part that’s remaining and store it in a plastic bag in the refrigerator. The lemon juice prevents the avocado from turning brown.

Garlic Butter (or spiced/herbed butter)

Making garlic butter, or some other variant of spiced or herbed butter, is a simple way to add flavor and depth to meals. The short version:

  • melt some butter, or allow butter to soften to room temperature;
  • mix in some spices or herbs to taste (and go light; it’s easy to add more, but impossible to take them out);
  • put the butter in the refrigerator.

And really, that’s about it. The spices and herbs you can add are really limitless, from coarse ground pepper to thyme to fresh rosemary to ground chipotle pepper or smoked paprika to herbes de Provence.

Either fresh or dried herbs can be chopped and put into the warm butter; experiment with both to decide what you prefer. Personally, I prefer fresh herbs, but tastes differ.

Garlic butter requires anywhere from 5 minutes to 60 minutes of preparation time, with somewhere around 5 to 10 minutes of active cooking time. Once prepared, garlic or herbed butter can be stored in the refrigerator for 1-2 weeks, or frozen.

To make garlic butter, one additional step makes all the difference: brown the garlic in olive oil, and then mix the browned garlic and olive oil into the butter. Browned garlic has a great texture, and browning the garlic adds a sweet crunch to garlic. If the garlic was browned in butter, the butter would brown as well.

To make garlic butter:

  • Remove 1 stick of butter from the refrigerator and let it warm to room temperature. This can take 30-60 minutes. The butter can also be microwaved in a bowl in 15 second increments until the butter softens.
  • Peel anywhere from 3 to 10 cloves of fresh garlic (depending on the size of the cloves, and your love of garlic).
  • Mince the garlic into small chunks.
  • Heat a saucepan on medium-high heat; add olive oil and minced garlic.
  • Stir garlic occasionally until it browns.
  • Add the browned garlic and olive oil to the warm butter.
  • Using a spoon, mix the garlic into the butter.
  • Return the garlic butter to the fridge until it hardens, and use it as you would regular butter.


Skillet with chorizo, onion, red pepper, greens, and cheese

This dish takes around 30-35 minutes to prepare from start to finish; 15 minutes of active time, and 15-20 minutes of cooking time. Skillets are great because you can make them with almost anything you have on hand. This also means that you can cook some of the items ahead of time, which cuts down on the active time.

The meal will be cooked in and eaten from a cast iron skillet. This recipe was prepared with a 6.5 inch skillet.

Ingredients

  • chorizo
  • spinach (can use chopped kale, collards, or other spinach-like green)
  • sweet onion (yellow onion okay, if you’re a philistine)
  • grated cheese (cheddar or Monterey Jack)
  • red pepper
  • 2-3 eggs
  • bread crumbs (or panko)
  • butter (or garlic butter)

Preparation

Step 1. Preheat the oven to 375°. Place the skillet in the oven so it heats up as the oven heats up.

Step 2. While the oven is heating, brown the chorizo in a small pan on the stove. I generally use around 2/10 of a pound, but if you brown more you can have leftovers for tomorrow’s lunch.

Browning the chorizo

Step 3. Chop onion and sauté in a pan. This can be done ahead of time; in this recipe I used leftover grilled onions. Cooked onions will last for several days in the refrigerator. When cooked, place the onions in a bowl.

Step 4.  Chop 1/2 a red pepper. Place in the same bowl with the onions.

Step 5. Wash and chop the spinach. Place in a bowl.

Step 6. Grate or cube a small amount of cheese.

Step 7. Crack 2-3 eggs in a bowl and beat lightly – just enough to break the yolks.

Prepped and ready!
Prepped and ready!

Step 8. When the oven reaches 375°, pull the skillet from the oven and place on a the stovetop, or any other surface that can handle a hot piece of metal.

Step 9. Melt garlic butter (or regular butter) in the skillet. Coat the bottom of the skillet with breadcrumbs.

Step 10. Layer the remaining ingredients into the skillet, in this order:

Spinach:

Cheese:

Onions and peppers:

Chorizo:

And, once everything else is in the skillet, gently pour the eggs on top of the other ingredients.

Step 11. Bake between 15-20 minutes at 375°. Remove when the eggs are as solid as you like.

Step 12. Set the phone to mute, ignore emails, and get to it!